

Table of Contents
- What You’ll Need Before Starting Your Inspection
- Check Body Panels, Paint, and Signs of Previous Repairs
- Used Cargo Van Mechanical Inspection: Engine, Fluids, and Leaks
- Inspect Suspension, Steering, Brakes, and Undercarriage
- Used Van Test Drive Checklist: What to Listen and Feel For
- Review Used Cargo Van Maintenance Records and Vehicle History
- Create Your Used Van Inspection Checklist and Make Your Decision
- Frequently Asked Questions
Last Updated: October 23, 2026
What You’ll Need Before Starting Your Inspection
Before you walk onto a lot to inspect a used cargo van, gather a few basic tools. You’ll want a flashlight to look into dark corners and under the vehicle. Bring a tire pressure gauge to check inflation levels. A simple notepad helps you track what you find.
Most important: bring time. A thorough inspection takes 30-45 minutes. Don’t rush it. A $500 reservation holds the van while you decide, so use that window to be thorough.
Consider bringing a friend who knows vehicles. A second set of eyes catches details you might miss. If you’re serious about the van, ask the dealer if a professional mechanic can inspect it before you buy.
Wear clothes you don’t mind getting dirty. You’ll be lying on your back looking at undercarriages and crawling into cargo areas. Bring a small mirror to see into tight spaces where you can’t fit your head.
Check Body Panels, Paint, and Signs of Previous Repairs
The body of a cargo van tells two stories: whether it was wrecked, and whether it was worked hard. Most buyers only check the first. On a cargo van, the second matters just as much, because the box, doors, and floor take the abuse that a passenger vehicle never sees.
Start with a walk-around in good daylight. Look for dents, dings, and rust spots, with extra attention to the lower panels, wheel arches, and rocker panels where water and road salt collect and corrosion starts.
Check the seams where panels meet, especially door frames and the bottom of doors, because rust hides there. Open and close every door, including the rear and side cargo doors, and confirm they latch firmly, close flush, and don’t grind or sag.
Now inspect the cargo area the way a fleet manager would. This is where a cargo van shows its real history:
- Cargo floor. Look for dents, gouges, soft spots, and rot, especially in the corners and along the wheel wells. Press firmly with your hand or a screwdriver handle; a spongy floor means water intrusion. Check for rust bleeding through from underneath, which is common on vans that hauled wet or salty loads.
- Bulkhead and partition. If a bulkhead is present, check that it is mounted solidly and not cracked at the mounting points. A loose or bent bulkhead can indicate hard braking loads or a prior collision.
- Tie-downs and D-rings. Confirm they are present, straight, and firmly anchored. Missing or bent tie-downs suggest heavy or shifting loads, and replacement anchors are cheap but a torn mounting point is not.
- Interior walls and ceiling. Look for rust from the inside out, staining, and peeling paint. Water damage often shows as tide lines or bubbling paint near the roof edges and rear door openings.
- Rear step bumper and threshold. These take a beating on loading docks. Check for cracks, bends, and rust-through, and confirm the step is solid enough to stand on.
Look at the roof and upper edges of the cargo box for staining or peeling paint, which point to long-term moisture exposure. Check the roof for dents or repairs that could leak.
Finally, read the wear patterns. Heavy scuffing on the floor, worn thresholds, and a battered rear bumper are normal on a working van, but they tell you the van was used commercially and should be priced accordingly.
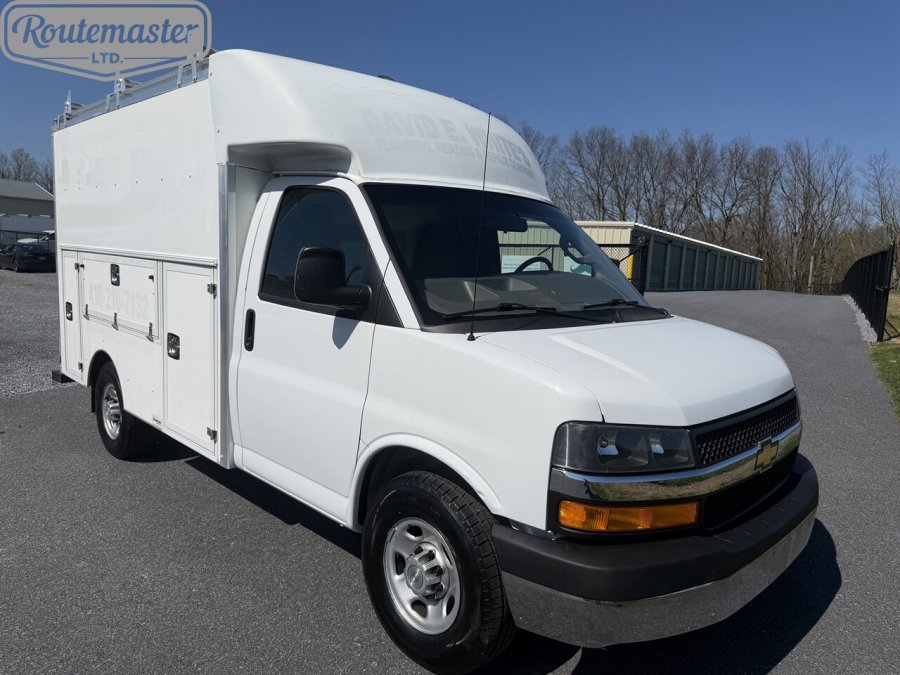
Used Cargo Van Mechanical Inspection: Engine, Fluids, and Leaks
Pop the hood and look at the engine bay. You’re checking for leaks, worn hoses, and visible damage. The engine should be relatively clean. Heavy grease buildup or fresh stains mean something is leaking.
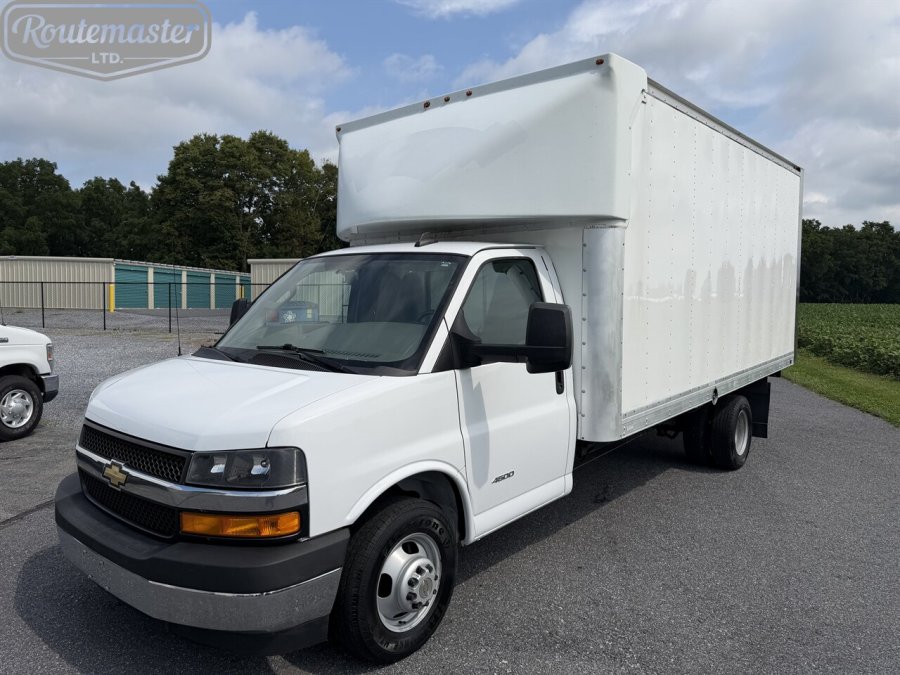
Check all fluid levels: oil, coolant, brake fluid, and transmission fluid. Low levels suggest slow leaks or poor maintenance. Pull the dipstick and look at the oil color. Dark brown or black oil is normal.
Look at hoses and belts. They should be firm, not cracked or brittle. Squeeze them gently. Soft hoses are failing. Check where hoses connect to the engine. Wet spots or staining around connections indicate leaks.
Start the engine from cold. Listen for unusual noises. A rough idle or hesitation means the engine needs work. Let it warm up and listen again. Smooth running is what you want. Check that all warning lights go out after startup.
Inspect Suspension, Steering, Brakes, and Undercarriage
Get down and look under the van. You need to see the suspension, steering components, and undercarriage. Bring your flashlight. Rust on the frame is normal, but deep pitting or holes are serious.
Look at the suspension springs and shock absorbers. They should not be leaking fluid. Bounce each corner of the van. It should drop and come back up smoothly. If it bounces more than twice, the shocks are worn.
Check the steering linkage. Grab the front wheel and try to move it side to side. There should be almost no play. Excessive movement means worn steering components. Turn the steering wheel fully left and right while someone watches underneath.
Inspect the brake lines and hoses. They should not be cracked, leaking, or rubbing against other parts. Look for brake fluid stains. Brake system problems are safety issues and expensive to fix.
Check the chassis for damage. Look for dents, cracks, or signs of welding repairs. A van that has been in a serious accident may have hidden frame damage that affects how it handles and drives.
Used Van Test Drive Checklist: What to Listen and Feel For
The test drive reveals how the van actually performs. Drive on both highways and local roads. Listen to the engine. It should run smoothly without knocking, pinging, or grinding. Acceleration should be smooth and responsive.
Pay attention to how the van handles. The steering should feel responsive, not loose or overly stiff. The van should track straight without pulling left or right.
Test the brakes. They should stop the van smoothly without pulsing or grinding. Brake pedal should feel firm, not spongy. Spongy brakes indicate air in the system or failing brake components.
Listen for rattles and clunks. Rattles in the cargo area are annoying but usually not serious. Clunks from the suspension or steering are more concerning.
Check the transmission. Manual transmissions should shift smoothly. Automatic transmissions should shift without hesitation or jerking. Slipping (engine revving without acceleration) means the transmission is failing.
Test all equipment: air conditioning, heating, radio, and lights. These aren’t critical to operation, but they tell you how well the van was maintained. A van with no working AC probably wasn’t serviced regularly.
Review Used Cargo Van Maintenance Records and Vehicle History
Ask for the maintenance records. A well-maintained van has documented service history. Oil changes, fluid flushes, and repairs should be listed with dates and mileage. Gaps in service history are concerning. A van with no records may have been neglected.
Check the vehicle history using the VIN (Vehicle Identification Number). A history report shows previous owners, accident records, and title status. Look for title brands like “salvage” or “rebuilt.” These indicate the van was damaged and repaired.
Count the owners. A van with many owners in a short time might have problems. One or two owners over several years suggests stability. Look at the mileage progression. Steady annual mileage is normal.
Ask about any accidents or damage. Some damage is repairable and acceptable. Major structural damage or multiple accidents are red flags.
Check if the van has any open recalls. The manufacturer’s website lets you search by VIN. Some recalls are minor, but major ones should be completed before you buy.
Create Your Used Van Inspection Checklist and Make Your Decision
A checklist is only useful if it drives a decision. Use the table below on site, mark each item, and then apply the severity rules that follow. The goal is not a perfect van, it is a van whose problems you can price and live with.
|
Inspection Area |
What to Check |
Pass / Fail |
|---|---|---|
|
Paint & body |
Consistent color, no rust-through, panels align |
✓ / ✗ |
|
Cargo area |
Solid floor, straight tie-downs, working doors, dry walls |
✓ / ✗ |
|
Engine bay |
No fresh leaks, fluid levels correct, hoses firm |
✓ / ✗ |
|
Undercarriage |
Frame solid, no deep pitting or holes, no fresh undercoating |
✓ / ✗ |
|
Tires |
Tread at or above 4/32 inch, even wear, matched set |
✓ / ✗ |
|
Brakes |
Firm pedal, smooth stops, no grinding or pulsing |
✓ / ✗ |
|
Transmission |
Smooth shifts, no slipping or delayed engagement |
✓ / ✗ |
|
Electrical |
All lights, signals, HVAC, and radio work |
✓ / ✗ |
|
OBD-II scan |
No stored or pending codes, monitors ready |
✓ / ✗ |
|
Test drive |
Tracks straight, no clunks, responsive steering |
✓ / ✗ |
|
Records & title |
Service history, clean title, no open recalls |
✓ / ✗ |
Measure, don’t guess. A few cheap tools turn opinions into facts. A tread depth gauge tells you whether tires are at 4/32 inch (replace soon) or 2/32 inch (unsafe).
Rank red flags by severity, not by count.
- Walk away: frame damage, rust holes in the frame or cargo floor, a salvage or rebuilt title you cannot verify, transmission slipping, coolant and oil mixing (milky oil), or a seller who refuses an independent inspection.
- Negotiate or request repairs: worn tires, worn brakes, a leaking shock, a failed A/C compressor, minor body rust, or a check-engine light with a known, priced cause. Get a written estimate from your mechanic and subtract it from the asking price.
- Accept and monitor: cosmetic dents, scuffed cargo floor, worn but functional trim, and minor seepage that is not actively dripping.
Use the cold start and post-drive check as tie-breakers. Arrive before the seller has warmed the van. A cold start reveals rough idle, blue smoke (oil burning), or white smoke (coolant) that disappears once warm. After the test drive, shut it off, wait a few minutes, and look under the van for fresh drips.
Know when to walk. Trust your gut, but back it with the checklist. If two or more walk-away items appear, stop. If the van passes the major mechanical and structural checks and the remaining issues are priced and minor, you have a negotiating position.
Frequently Asked Questions
What are the red flags to avoid when buying a used cargo van?
Watch for mismatched paint colors, signs of rust on the undercarriage or frame, engine leaks or excessive wear, warning lights on the dashboard, and gaps in maintenance records. Avoid vans with a history of major accidents or structural damage. If the seller can’t provide service records or seems evasive about the van’s condition, that’s a warning sign to walk away.
Should you get a used cargo van inspected by a mechanic before buying?
Yes. A professional mechanic can identify hidden mechanical issues that you might miss during a visual inspection. They can perform diagnostic tests, check transmission fluid condition, and spot wear patterns that affect reliability. For a commercial work vehicle you depend on daily, the cost of a pre-purchase inspection (typically $150–$300) is a worthwhile investment compared to unexpected breakdowns and repair bills.
How can you check a used van’s maintenance and accident history?
Request the vehicle’s service records from the seller and ask about any major repairs or accidents. Use a vehicle history report service to check for title issues, accident records, and mileage verification. Ask the seller directly about the van’s usage, any damage, and why they’re selling. Cross-check the reported mileage against service records to ensure consistency and spot odometer tampering.
What should you test during a used cargo van test drive?
Test cold starts to listen for rough idling or unusual noises. Drive at highway speeds to check transmission smoothness and engine responsiveness. Test brakes on a safe road to feel for softness, pulling, or vibration. Check steering responsiveness and listen for clunks in the suspension. Test all lights, wipers, air conditioning, and heating. Load the cargo area with weight and test handling to ensure the van performs under typical working conditions.
